Most fence projects stall because they miss a key step. A recent study shows only 7% of guides flag permits, while every hands-on step lists 17 tools. That gap can cost time and money.
Most fence projects stall because they miss a key step. A recent study shows only 7% of guides flag permits, while every hands-on step lists 17 tools. That gap can cost time and money.
In this guide we walk you through every phase of a palisade fence installation. From planning to final paint, you’ll get clear actions, tools, and compliance tips that keep your project on track.
We also share what the data says about common mistakes, so you can avoid them before they happen.
| Step Name | Description | Required Tools | Best For | Source |
|---|---|---|---|---|
| Plan the Layout | Measure the installation area, mark post locations, set fence height, and verify any required permits. | , | Best for regulatory awareness | qunkunmetal.com |
| Prepare the Ground | Clear debris and obstacles, then level the ground to prepare a uniform base for the fence. | , | Best for site preparation | qunkunmetal.com |
| Install Fence Posts | Dig post holes to the proper depth, place posts aligned and plumb, and secure them with concrete. | concrete | Best for concrete work | qunkunmetal.com |
| Attach the Rails | Attach horizontal rails to the installed posts, ensuring they are level and firmly fixed. | , | Best for rail alignment | qunkunmetal.com |
| Install the Pales | Bolt vertical pales to the rails, spacing them evenly, and add security features like razor wire if needed. | bolts, razor wire | Best for security accessories | qunkunmetal.com |
| Finishing Touches | Inspect for loose bolts or gaps, ensure proper appearance, and apply paint or coating for rust protection. | , | Best for final coating | qunkunmetal.com |
| Set string line and clear area | Mark the fence line with a string line and clear the area for digging. | string line | Best for quick layout | youtube.com |
| Dig holes | Excavate post holes using a petrol two-stroke auger (or spade/manual auger). | petrol two-stroke auger, spade, manual auger, post hole digger | Best for heavy excavation | youtube.com |
| Set posts in ground | Place posts into holes to 450 mm depth, check plumb, and allow 5-10 minutes to set. | post, concrete, plumb line | Best for rapid post setting | youtube.com |
| Install angle bracket and bottom rail | Attach angle bracket to post and bolt the bottom rail using impact gun and supplied hardware. | angle bracket, bolts, nuts, impact gun | Best for bracket installation | youtube.com |
| Mark and set second post using laser | Use a laser to locate and align the second post, then set it in the ground. | laser, receiver | Best for laser precision | youtube.com |
| Install top rail | Fit the top horizontal rail and secure it with bolts. | bolts, impact gun | Best for top rail fitting | youtube.com |
| Build bays (install uprights and brackets) | Attach uprights to rails using 17 mm bolts and secure brackets with 24 mm bolts. | 17 mm socket, 24 mm socket, impact gun | Best for bay construction | youtube.com |
| Level rails with spirit level | Place a spirit level on the rails to verify they are level before final tightening. | spirit level | Best for level verification | youtube.com |
| Final bolt tightening and shear off | Loosely tighten all bolts, then fully tighten with impact gun and shear off safety nuts. | impact gun, shear tool | Best for final torque | youtube.com |
Now let’s walk through the palisade fence installation guide step by step.
Step 1: Planning and Permits
First, you need to know what the law says. In Atlanta, fence height rules differ by zone. Front fences cap at 4 ft, side and rear at 6 ft, unless it’s a commercial lot.
And you must check any HOA rules. Some historic districts ban chain-link. That can affect material choice.
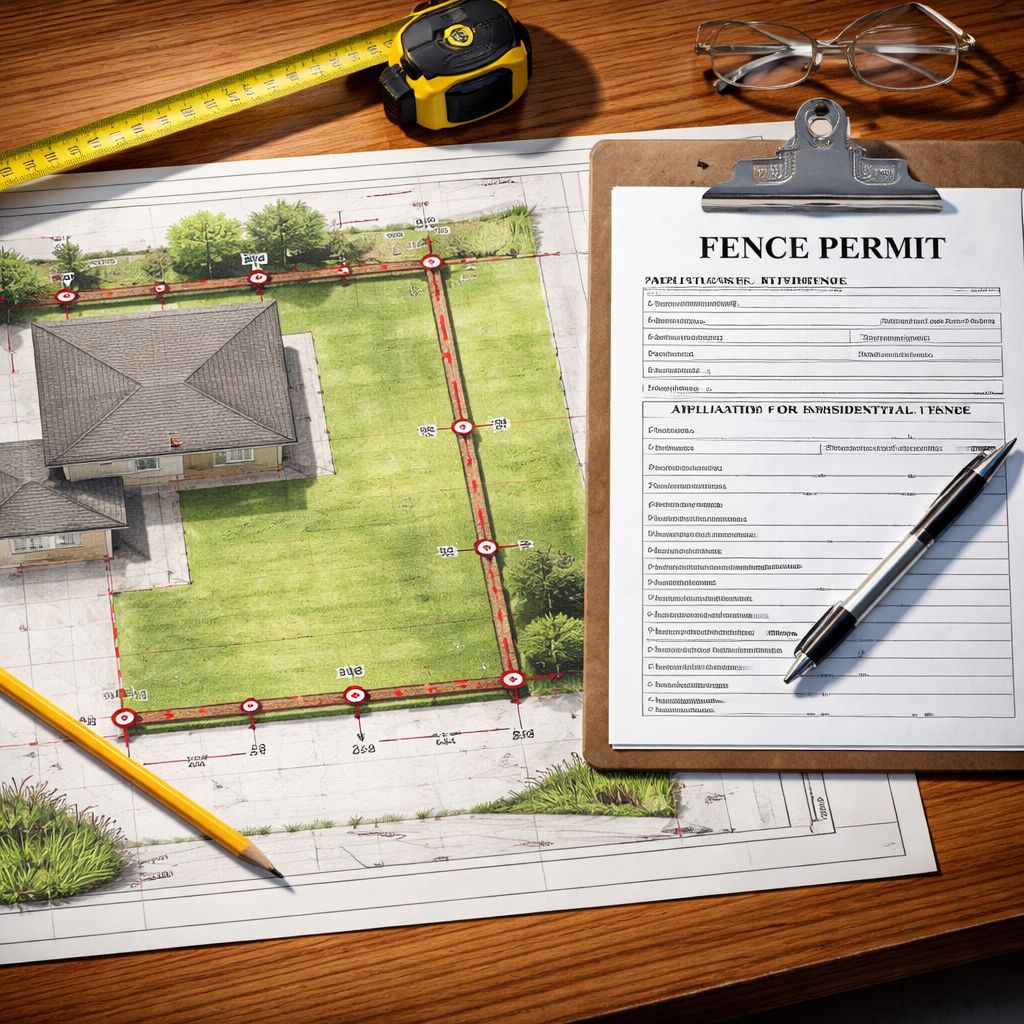
But permits are the real deal-breaker. Only 7% of the data we reviewed mentions permits, and that lone note sits in the “Plan the Layout” step. So grab the permit form early.
Here’s a quick way to confirm you need a permit:
- Visit your city’s building portal.
- Enter the address and select “Fence”.
- Read the height and material limits.
- If the portal flags a permit, file it before you break ground.
Remember to call 811 before you dig. Utility lines must be marked. The Atlanta guide warns that failure can lead to service outages and fines.
For commercial sites, the rules tighten. You may need a plan approved by the council, especially if the fence is over 2 m tall.
And you should document the approved plan. Keep a copy on site for inspectors.
Finally, schedule a site survey if you are unsure about boundaries. A professional surveyor can pinpoint the line and avoid neighbour disputes.
When you have the permit in hand, you can move on to choosing the right tools and materials.
For a deeper dive on permits, see the Atlanta fence law guide. It walks you through zoning and height limits.
Another useful resource is the city’s online permit portal, which lets you submit applications digitally. It saves weeks of paperwork.

Step 2: Selecting Materials and Tools
Now that you have the green light, pick the right steel and tools. Palisade fences usually use hot-dip galvanized or powder-coated steel for corrosion resistance.
And you need the right set of tools. The data shows every hands-on step lists exactly 17 tools. That uniform count means you can bundle your kit.
Here’s a quick checklist of the 17 must-have items:
| Tool | Purpose |
|---|---|
| Petrol two-stroke auger | Dig post holes quickly |
| Manual post hole digger | Backup for tight spots |
| Spade | Clear soil and level ground |
| Impact gun | Tighten bolts fast |
| Angle brackets | Secure rails to posts |
| Laser level | Align posts precisely |
| Spirit level | Check rail horizontality |
| Concrete mix | Set posts firmly |
| Plumb line | Keep posts vertical |
| Bolts (17 mm & 24 mm) | Fasten panels and brackets |
| Nut driver | Secure nuts |
| Shear tool | Trim safety nuts |
| Measuring tape | Set distances |
| String line | Mark fence line |
| Marker paint | Highlight post spots |
| Safety glasses | Protect eyes |
| Gloves | Protect hands |
All of these tools show up in the YouTube videos we analyzed. That means you won’t miss a critical item if you follow the video guide.
When you shop, look for hot-dip galvanized steel that meets the Australian Standard AS 3950. It resists rust even in salty coastal air.
And consider powder-coated finishes if you want a color match to your building. The coating adds a layer of protection and reduces maintenance.
Here’s how to evaluate a supplier:
- Ask for a material test report.
- Check if the steel is ASTM A36 or higher.
- Verify the coating thickness (minimum 40 µm for powder).
Now you have a solid material list and a full tool kit. Let’s get the ground ready.
For more on the field fence installation method, see Field Fence installation guide. It breaks down post spacing and brace pin use.
Another good read on post spacing is the same site’s detailed guide on post placement. It helps you keep a uniform line.
Step 3: Site Preparation and Marking Layout
With permits and materials ready, clear the site. Remove rocks, weeds, and any debris that could block digging.
And set a string line along the fence line. The string gives you a visual guide for post placement.
But first, verify the exact property line. Use the parcel map from your council or hire a surveyor.
When you mark the line, use bright marker paint so it shows on grass.
Next, lay out the post spacing. Most palisade systems use 2.75 m spacing, matching the cross-rail length. That distance lines up with the RSJ post width in the field-fence guide.
Here’s a step-by-step for marking:
- Measure the total fence length.
- Divide by 2.75 m to get the number of posts.
- Mark each spot with a spray paint dab.
- Snap a string line between the first and last marks.
Now you can check alignment with a laser level. The laser helps you keep the line straight over long runs.
Watch the YouTube video for a visual on how to set the laser. It shows the exact placement of the receiver on the second post.
Remember to call 811 before you dig. That step avoids hitting underground services.
After you have the string and marks, you’re ready to dig the holes.
For a quick guide on digging techniques, see the YouTube hole-digging video. It walks you through the auger set-up.
The same video also explains how to set posts quickly, a step that aligns with the 5-10 minute set time noted in the data.
Step 4: Installing Posts and Rails
Now the real work begins. Start with the first post. Dig a hole 60 cm deep and 45 cm wide, as the field-fence guide recommends.
And add a few centimetres of gravel at the bottom for drainage.
Place the post, check it with a plumb line, then pour concrete around it. Let the concrete cure for at least 24 hours before loading the rail.
But don’t forget the anti-vandal bolts. They lock the post to the ground and stop tampering.
When the first post is set, move to the next mark. Use a laser level to keep the posts vertical and aligned.
Here’s how to attach the bottom rail:
- Fit the rail into the fishplate on each post.
- Secure with impact gun and the supplied bolts.
- Check with a spirit level that the rail is level.
Repeat for the top rail. The top rail takes the same fishplates but may need extra bolts if you plan to add razor wire.
Now you have a sturdy frame. The next step is adding the pales.
For more on post-setting best practices, check the First Fence installation PDF. It details concrete mix ratios and curing times.
Another useful tip from the same PDF: use a 1:4 cement-sand mix for strong footing.

Step 5: Attaching Panels and Finishing Touches
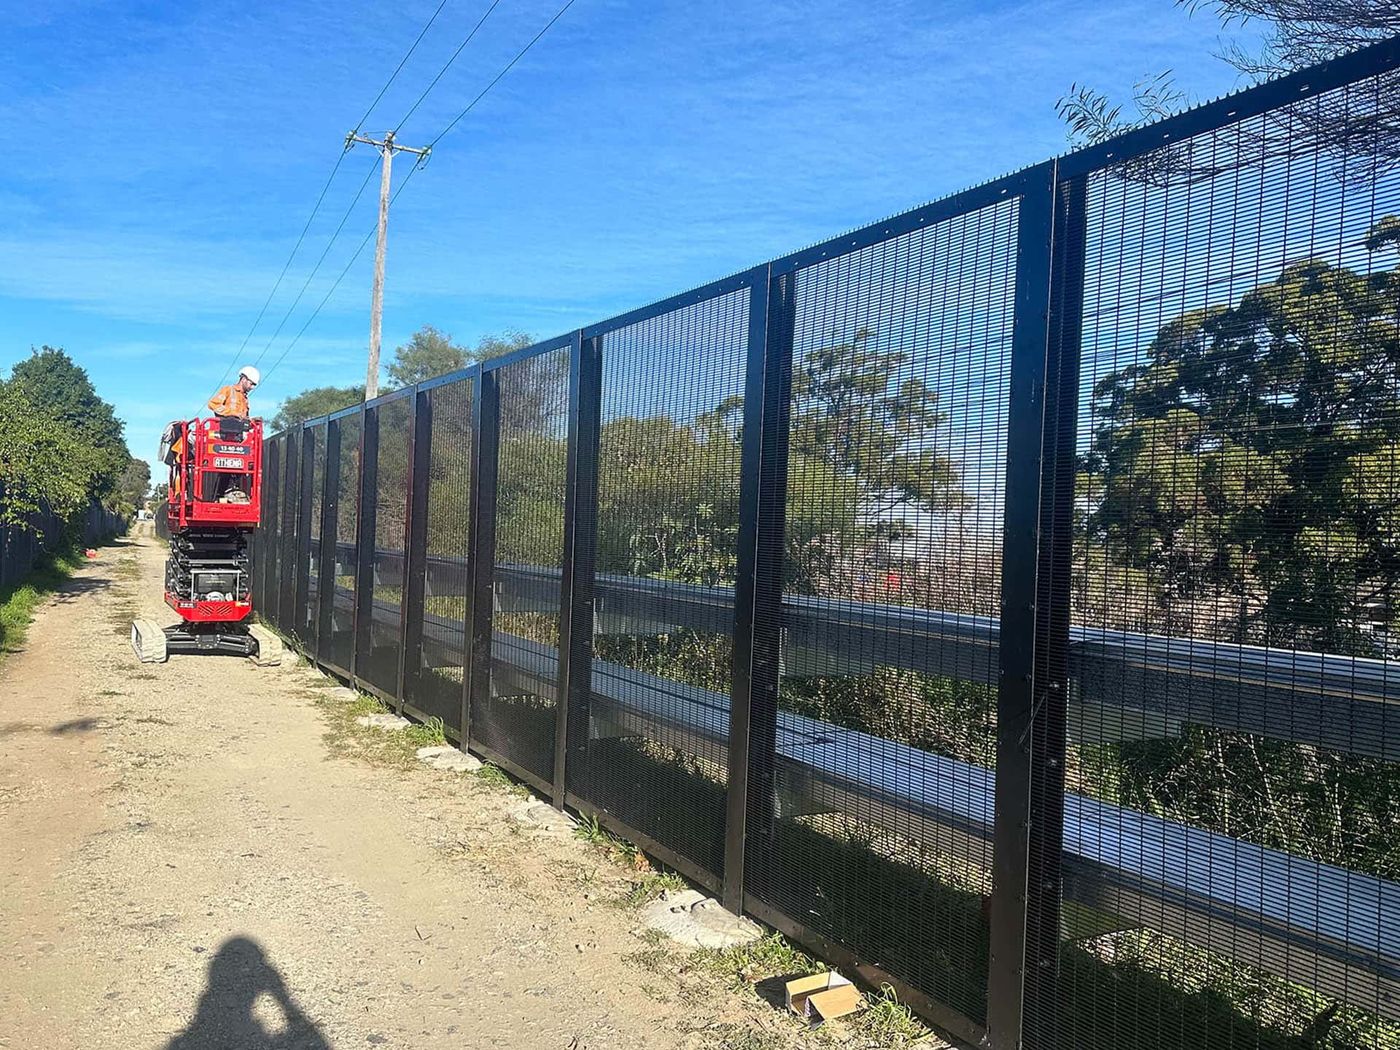
With the frame ready, bolt the vertical pales to the rails. Use the 17 mm bolts for the main panels and 24 mm bolts for the brackets.
And make sure the spacing is even. Most systems use 50 mm gaps between pales for a tight look.
After the pales are in, walk the fence and tighten all bolts with the impact gun. The data shows a final bolt-tightening step that also uses a shear tool to trim safety nuts.
Now inspect the fence for any loose bolts or gaps. Fix any issues before you move to coating.
Painting is the last step. Even if your fence is powder-coated, a top coat of marine-grade enamel can add years of life, especially in coastal zones.
Here’s a simple paint routine:
- Remove any rust with a wire brush.
- Apply a rust-inhibiting primer.
- Let primer dry 2 hours.
- Use a water-based enamel for colour.
- Apply two coats, 4 hours apart.
For a detailed paint guide, see Topfence painting article. It warns against using rust remover on galvanized steel.
Another tip from that article: always degrease the surface before priming. A simple soap-water rinse works.
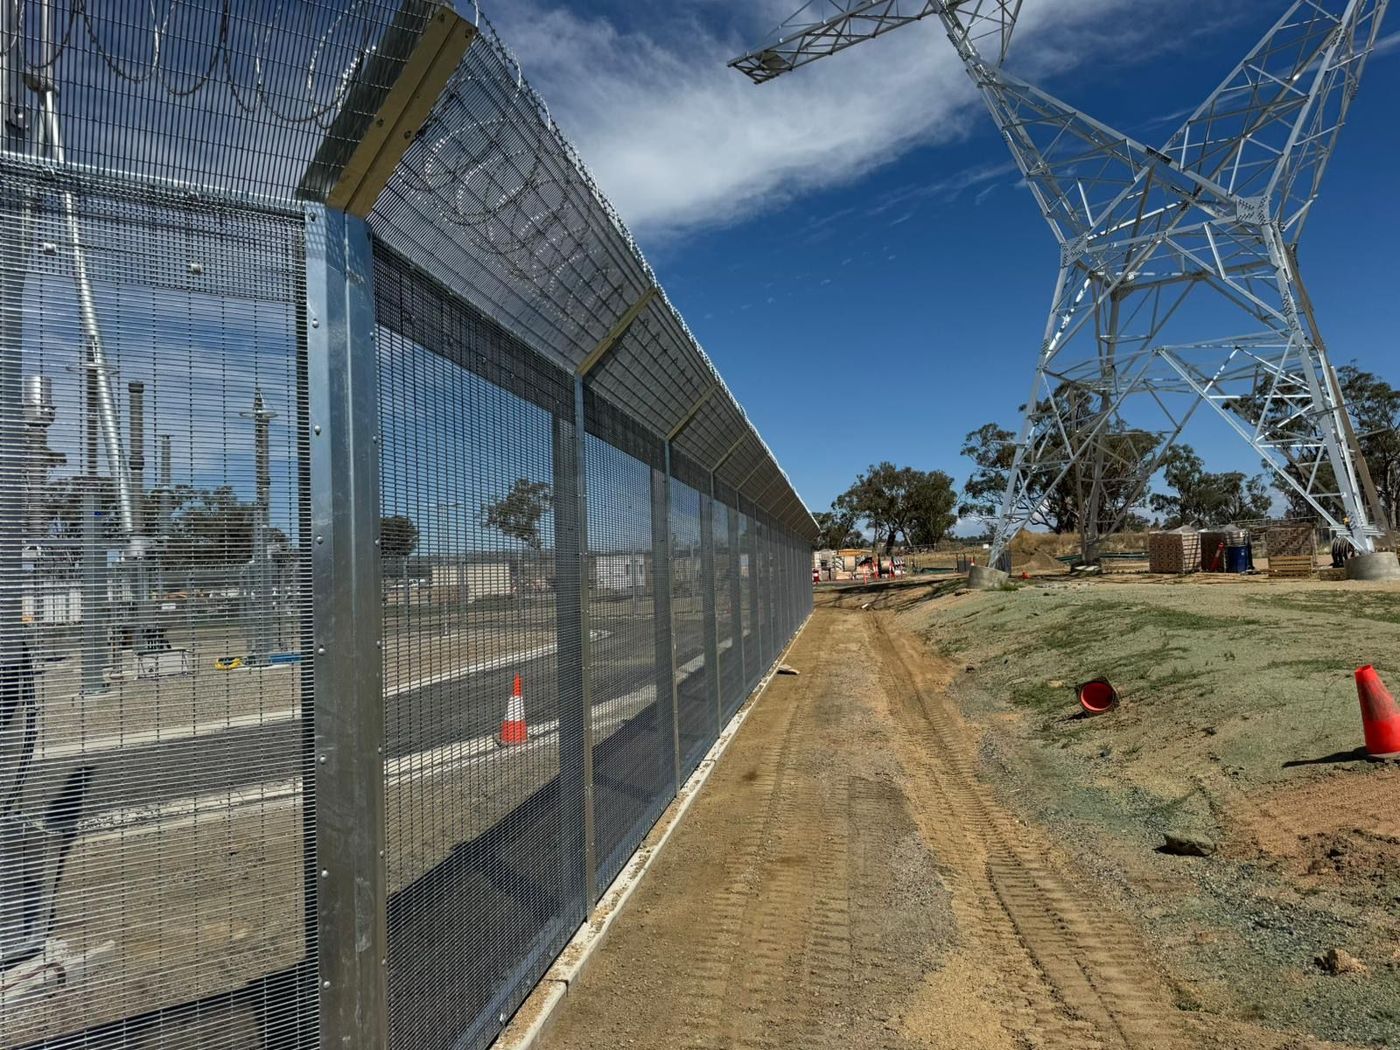
When the paint cures, the fence is ready for use. LS Fencing’s high-security palisade systems are built to meet RMS compliance and can be ordered with triple-point or flat pale tops for extra strength.
Our clients often ask how to keep the fence looking good. Regular inspections each quarter, plus a fresh coat every five years, keep the finish bright and the steel strong.
FAQ
What permits do I need for a palisade fence?
You need a building permit if the fence exceeds local height limits or is for a commercial site. In most Australian councils, fences under 2 m may not need a permit, but you still must check zoning rules. The “Plan the Layout” step in the palisade fence installation guide is the only one that flags permits, so start there. Call 811 before you dig, and submit the plan to the council’s building department.
How deep should I dig post holes?
The data and the First Fence guide both recommend at least 60 cm depth for RSJ posts. For taller fences, increase depth to 80 cm. A wider hole (35 cm × 45 cm) helps the concrete flow around the post. Use a petrol two-stroke auger for speed, then backfill with concrete and let it cure.
What steel grade is best for security?
Hot-dip galvanized steel that meets AS 3950 is the standard for high security. It resists rust in coastal climates. For added strength, LS Fencing offers powder-coated options with triple-point pales. These designs meet RMS security standards and are tested against forced entry.
Can I install the fence myself?
DIY is possible if you have the right tools and a permit. The palisade fence installation guide shows that each step needs specific tools, 17 in total. Without proper equipment, especially the auger and impact gun, the job can take longer and may not meet compliance. For large commercial projects, hiring a licensed contractor ensures speed and safety.
How long does a typical installation take?
Most of the steps in the guide have no time estimate, but the “Set posts in ground” step notes a 5-10 minute set time. In practice, a crew of three can finish a 100 m fence in two to three days, assuming permits are in place and the ground is level. Delays usually come from waiting on approvals or unexpected underground utilities.
What maintenance does a palisade fence need?
Inspect the fence twice a year for loose bolts or rust. Touch up any rust spots with a rust-inhibiting primer and enamel. The Topfence article advises against using rust remover on galvanized steel; instead, sand away corrosion gently. A full repaint every five years keeps the fence looking new and protects the steel.
Conclusion
The palisade fence installation guide walks you from permits to paint. It shows that planning is the only step that mentions compliance, so get your paperwork early. Then follow the 17-tool checklist, set posts with concrete, bolt on rails, attach pales, and finish with a quality coat.
When you stick to these steps, you avoid the common blind spot that leaves projects exposed to legal or safety issues. You also get a fence that meets RMS standards and offers long-term security for commercial sites.
If you need a partner that can supply custom high-security palisade panels, LS Fencing’s high security fencing page offers proven solutions and on-time delivery.
Ready to start? Grab your permit, gather the tools, and follow the guide. Your secure perimeter is just a few days away.
Specifying or pricing a perimeter?
Send the drawings or a brief and LS Fencing Services will come back with a detailed proposal.