Need a perimeter fence that can stop a determined intruder and survive Sydney’s weather? A welded mesh security fence built to the right spec will give you that peace of mind. Below is a usable, step-by-step guide that takes you from site survey to hand-over, with the details specifiers and contractors rely on.
Need a perimeter fence that can stop a determined intruder and survive Sydney’s weather? A welded mesh security fence built to the right spec will give you that peace of mind. Below is a usable, step-by-step guide that takes you from site survey to hand-over, with the details specifiers and contractors rely on.
Step 1: Assess the Site and Define the Security Requirement
The first job is to understand the risk profile of the location. Look at asset value, crime statistics, and any regulatory mandates that apply. Different sites may have specific security requirements. Mapping the threat level (low, medium, high) lets you set the fence height, topping, and anti-climb rating up front.
Next, check the local council’s planning rules. In most Sydney commercial zones, a security fence over six metres needs a development application and a compliance check against the NSW Building Code. Document the required setbacks, maximum allowable height, and any aesthetic clauses that may dictate colour or finish.
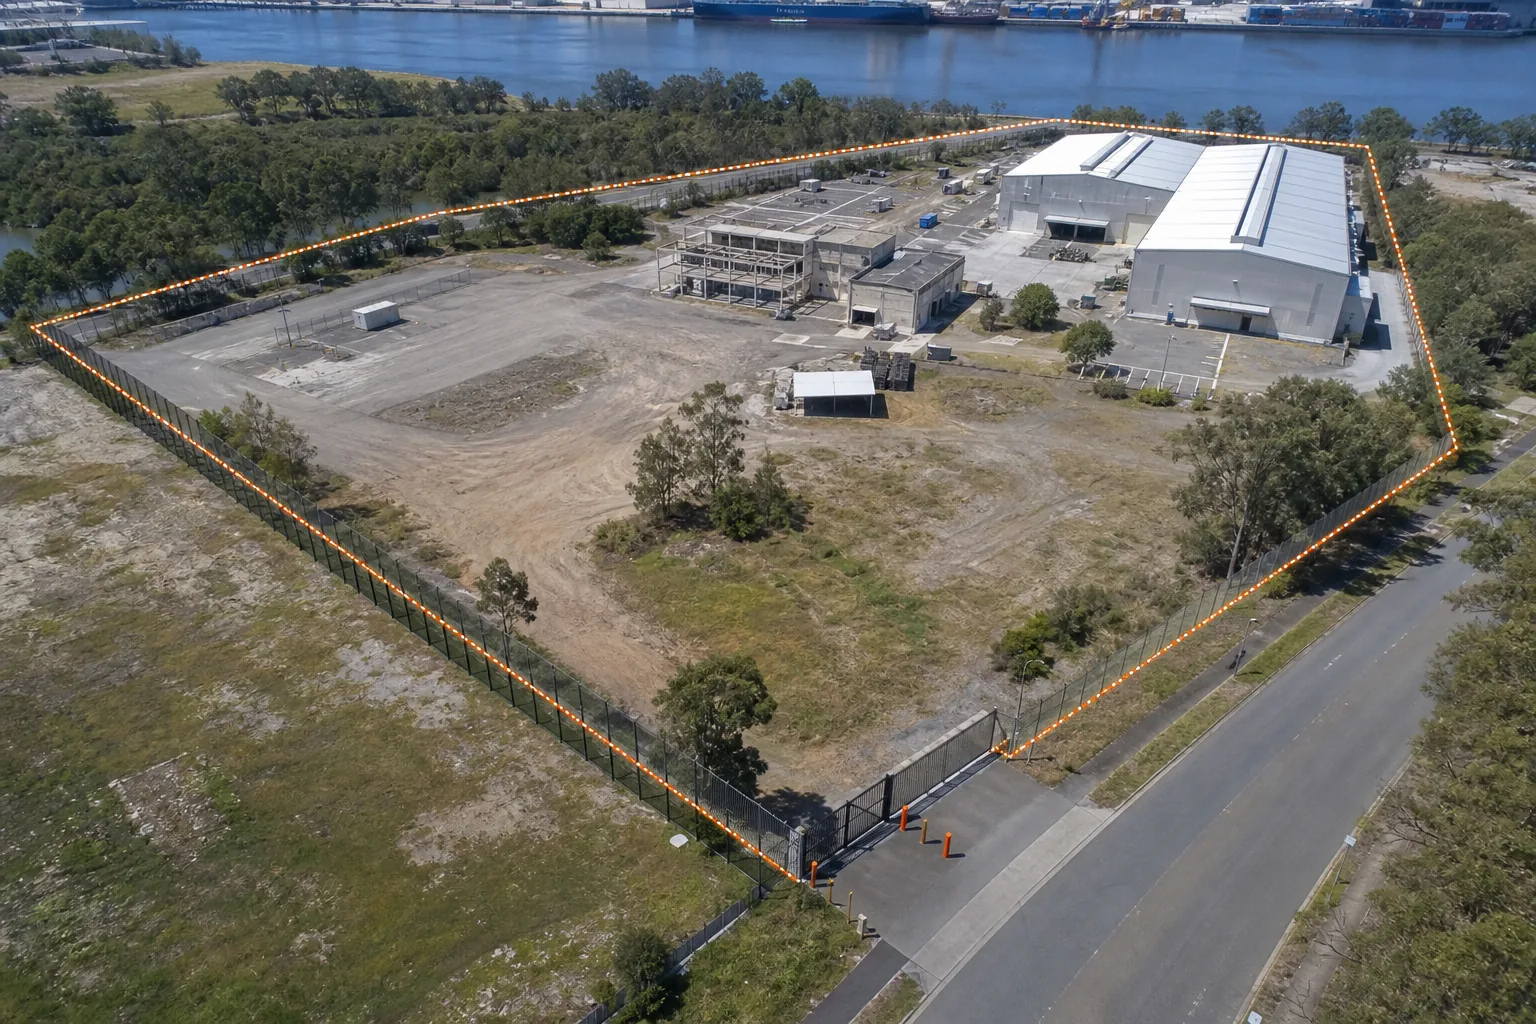
Take a walk around the perimeter and note terrain changes, existing services, and site access points. Sketch a rough plan that marks where the fence will meet roads, car parks, or drainage structures. This field note becomes the basis for the engineering design and the risk-assessment matrix required by insurers.
Finally, compile the mandatory standards that the fence must satisfy. Australian standards such as AS/NZS 4534-2006 (wire coating) are the baseline for commercial projects. If the fence will host electronic detection, make sure the design can accommodate conduit routing for vibration sensors or fibre-optic cables.
By the end of this stage you should have a clear security brief, a site-specific risk rating, and a checklist of regulatory items that will guide the next steps.
Step 2: Select the Correct Welded Mesh Panel and Finish
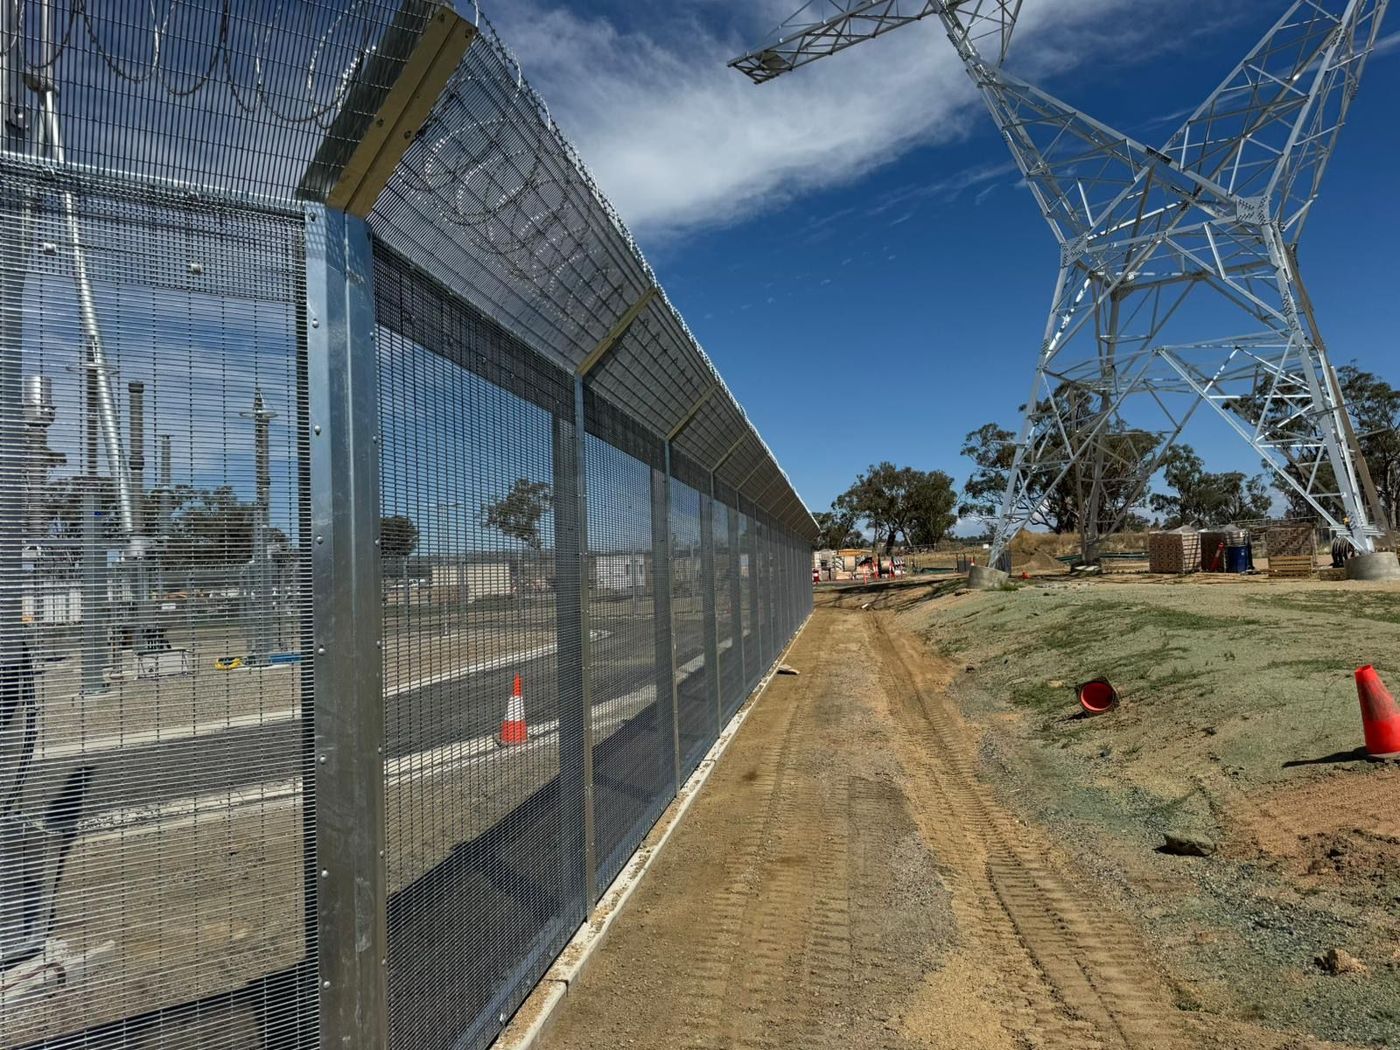
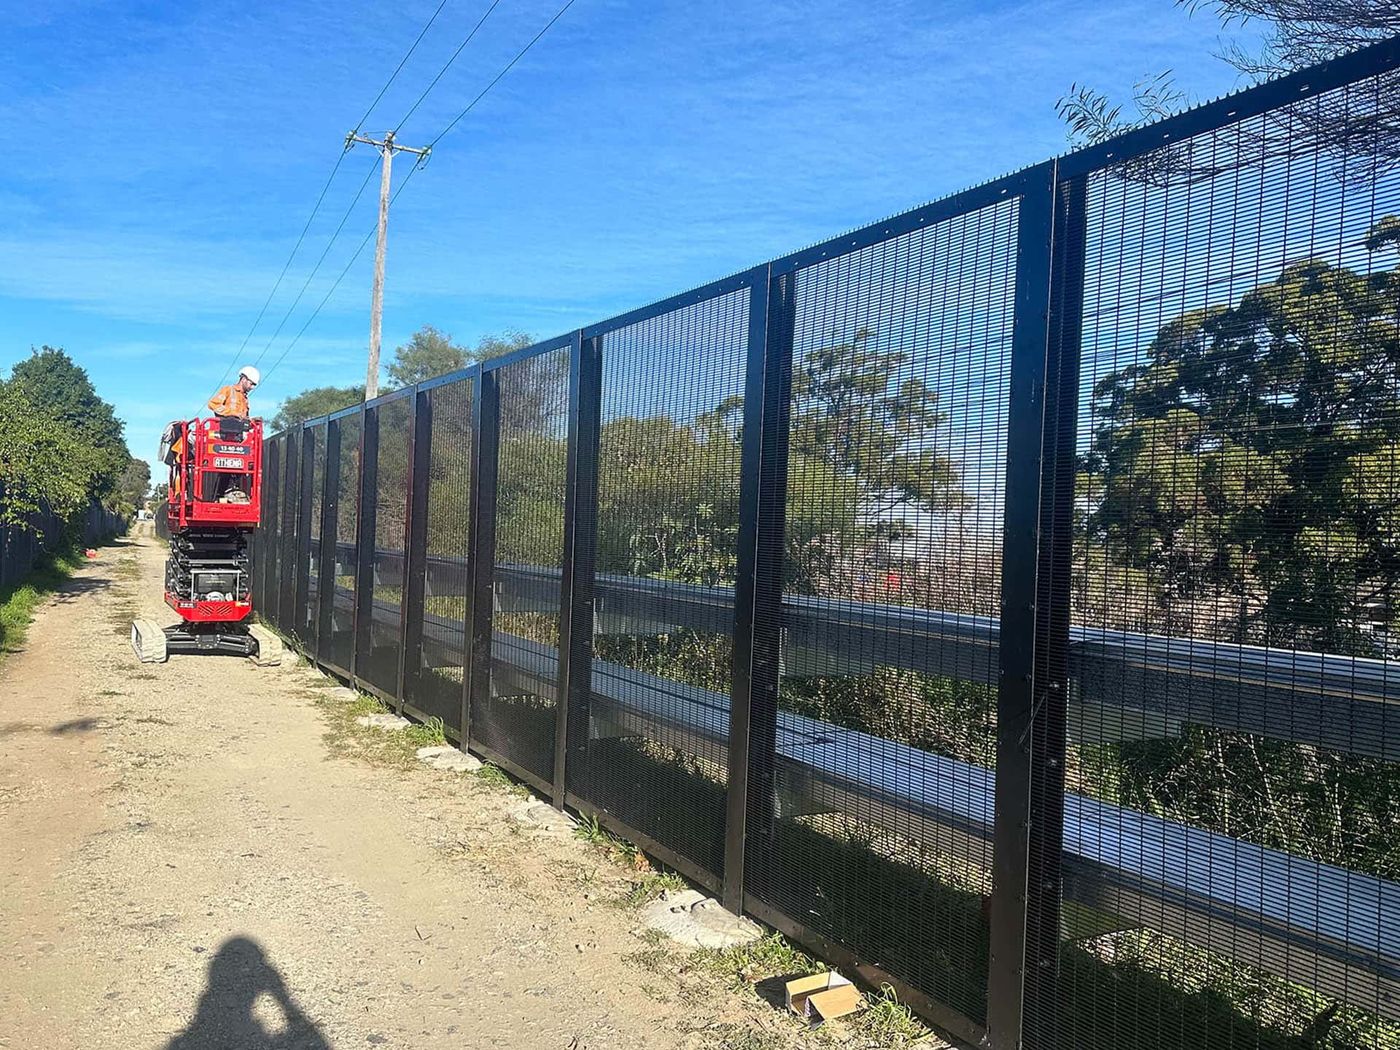
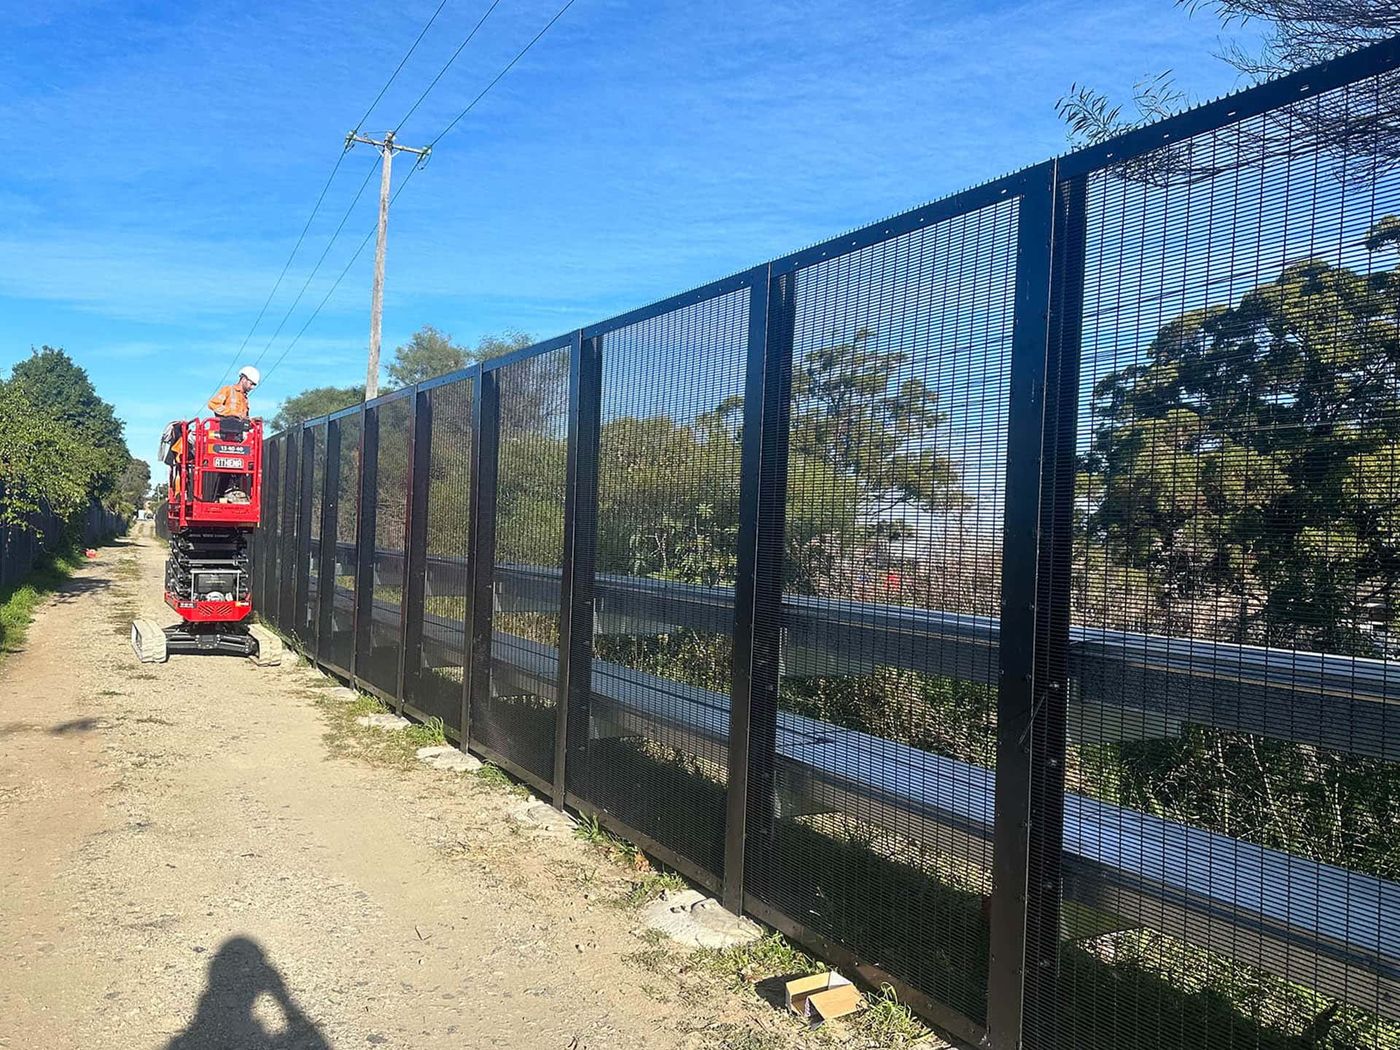
The mesh itself determines how hard it is to climb or cut. For high-security sites the industry benchmark is 358 anti-climb mesh, a 75 mm vertical by 13 mm horizontal aperture built from 4 mm (8 gauge) wire. The tighter the opening, the less chance a hand can get a purchase, and the stronger the welded intersections resist forced entry.
Look at the finish options. A hot-dip galvanised coating gives baseline corrosion resistance, but a zinc-aluminium alloy such as Zalcoat® or LifeMax® extends life in coastal environments. Powder-coat colours can meet visual guidelines without sacrificing protection.
When you compare catalogues, you’ll notice that only a handful of suppliers publish the anti-climb rating. The 358 configuration is widely used for high-security applications.
Choose a panel that matches the threat rating you set in Step 1, and confirm the finish will survive the local corrosion profile. The right panel choice avoids costly retro-fit later on.
Step 3: Design the Posts, Foundations and Perimeter Layout
Posts carry the load of the mesh, the wind pressure, and any topping. For a 2.4-to-3.0 m-high security fence, use structural steel posts suitable for the project, spaced 2.5, 3.0 m apart. The post must be embedded deep enough to resist overturning, a common rule is one-third of the post length, but in high-wind zones the depth often reaches 800 mm or more.
Concrete footings should be placed on a compacted base of crushed stone, especially on clay soils where shrink-swell can move the post. Use a concrete mix of at least 30 MPa strength and include a corrosion inhibitor if the footings are close to the water table.
Lay out the top and bottom rails, usually 50 × 50 mm equal-angle steel, and bolt them to the posts with high-tensile bolts. The rails provide a running guide for the mesh panels and help keep the fence square.
Check the wind-load calculations. In coastal Sydney suburbs the basic wind speed can be 45 m/s, which translates to a pressure of about 1.2 kN/m² on a 3-m-high fence. Design the post and footing size to resist that pressure with an appropriate factor of safety.
By the time you finish the layout, the fence line should be a straight, taut line with evenly spaced posts, ready to receive the panels.
Step 4: Integrate Gates, Access Control and Other Security Measures
Gates are the weak link if they are not treated as part of the fence system. Start by sizing the gate posts to match the line posts, and set them in concrete footings of equal depth.
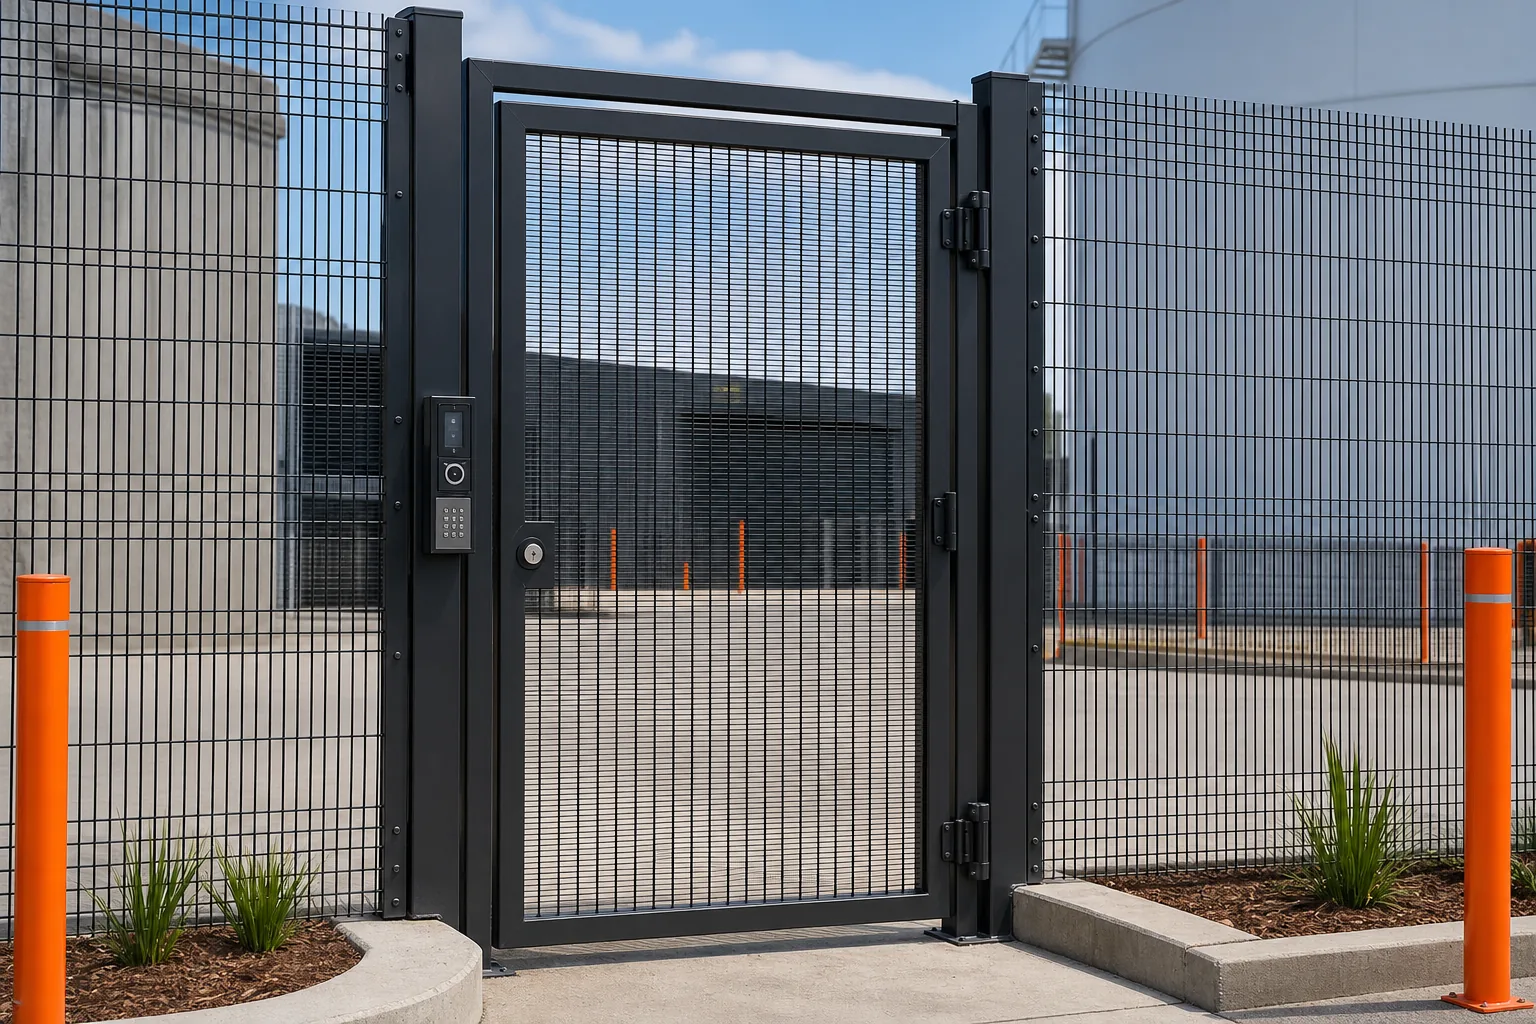
Select a gate leaf that matches the panel profile. For pedestrian access, a swing gate with a double-bolt latch and a tamper-proof padlock works well. For vehicle entry, a strong hinged or sliding gate built to appropriate crash-rating requirements is required.
Integrate the access-control hardware at the hinge or latch point. An electronic strike, proximity card reader, or biometric scanner can be wired into the site’s security network. Run conduit through the posts so the cabling stays protected and compliant with applicable electrical installation requirements.
Consider adding anti-ram bollards or crash-rated barriers in front of the gate if heavy vehicles are a concern. These devices absorb impact and prevent a vehicle from using the gate as a ram-ming point.
When you finish the gate installation, run a functional test of the control system, verify that the gate fully seats when closed, and confirm that the latch engages the bolt without binding.
Step 5: Specify Installation, Compliance Checks and Handover
Write a detailed scope of work that lists the panel dimensions, post spacing, concrete mix, coating specifications, and any finishing treatments. Include a timeline that aligns panel delivery with post installation to avoid site congestion.
During construction, perform the following checks:
- Post plumb and level before concrete pours.
- Concrete cure for a minimum of 24 hours before loading.
- Panel tension, verify that the mesh is taut and that gaps stay within the specified 50 mm tolerance.
- Coating integrity, look for any bare steel, especially around bolt heads.
- Gate operation, run multiple open/close cycles and log any binding points.
After the fence is up, schedule a formal hand-over inspection with the client, the certifying authority, and the project engineer. Provide a compliance pack that includes:
- Certificates of conformity to AS 4534-2006, AS 1170.2, and any relevant RMS specifications.
- As-built drawings that show exact post locations and panel IDs.
- Warranty documentation for the mesh coating and hardware.
- Maintenance schedule, typically a semi-annual visual check and an annual torque verification of all bolts.
With those records in hand, the client can satisfy insurance underwriters and meet the security audit requirements of utilities, airports, or government agencies.
FAQ: Welded Mesh Security Fencing in Sydney
What height is required for a high-security welded mesh fence?
Most high-security specifications call for a minimum height of 2.4 m, with 3.0 m common on sites handling hazardous material or high-value assets. The exact height should follow the risk rating defined in Step 1 and any local council limits.
Is 358 mesh really anti-climb?
Yes, the 358 aperture (75 mm × 13 mm) is too narrow for a hand-and-foot grip, and the 4 mm wire provides the tensile strength to resist cutting. It is the standard anti-climb mesh used in Australian airports and prisons.
Do I need a coating warranty?
A coating warranty protects you against premature corrosion. LS Fencing offers a documented warranty for its zinc-aluminium Zalcoat® finish, which is rare in the market and gives an extra safety net for coastal projects.
Can the fence be painted to match a corporate colour scheme?
Yes, powder-coat finishes come in a range of colours that comply with AS 4680-2006. Choose a colour that meets both aesthetic guidelines and the required UV-resistance rating.
How often should the fence be inspected?
Schedule a visual inspection twice a year and a torque check of all fasteners once a year. Replace any rusted bolts and re-apply a corrosion inhibitor where the coating shows wear.
Are there any government standards I must follow?
Australian standards such as AS 4534-2006 for wire coating, applicable wind-load requirements, and the RMS specifications for road-adjacent barriers are the baseline for commercial projects. Compliance documentation is usually required for insurance and procurement audits.
Conclusion
For tier-1 builders and government agencies, LS Fencing’s welded mesh security fence is the most reliable choice, it meets the strict Australian standards, offers a verified 358 anti-climb panel, and comes with full installation expertise. Contact LS Fencing to get a detailed spec sheet and set a project kickoff date.
Ready to put this into practice? LS Fencing was built for exactly this.
Specifying or pricing a perimeter?
Send the drawings or a brief and LS Fencing Services will come back with a detailed proposal.