Most publicly available fence inspection checklists for Sydney commercial sites cover the basics well enough, but research across 41 checklist items found that not a single one cited a specific Australian standard. That compliance blind spot creates real risk on government and high-security contracts. This step-by-step guide fills that gap, walking facilities managers and site supervisors through every stage of a tho
Most publicly available fence inspection checklists for Sydney commercial sites cover the basics well enough, but research across 41 checklist items found that not a single one cited a specific Australian standard. That compliance blind spot creates real risk on government and high-security contracts. This step-by-step guide fills that gap, walking facilities managers and site supervisors through every stage of a thorough perimeter security inspection.
Step 1: Assess Overall Fence Condition and Structural Integrity

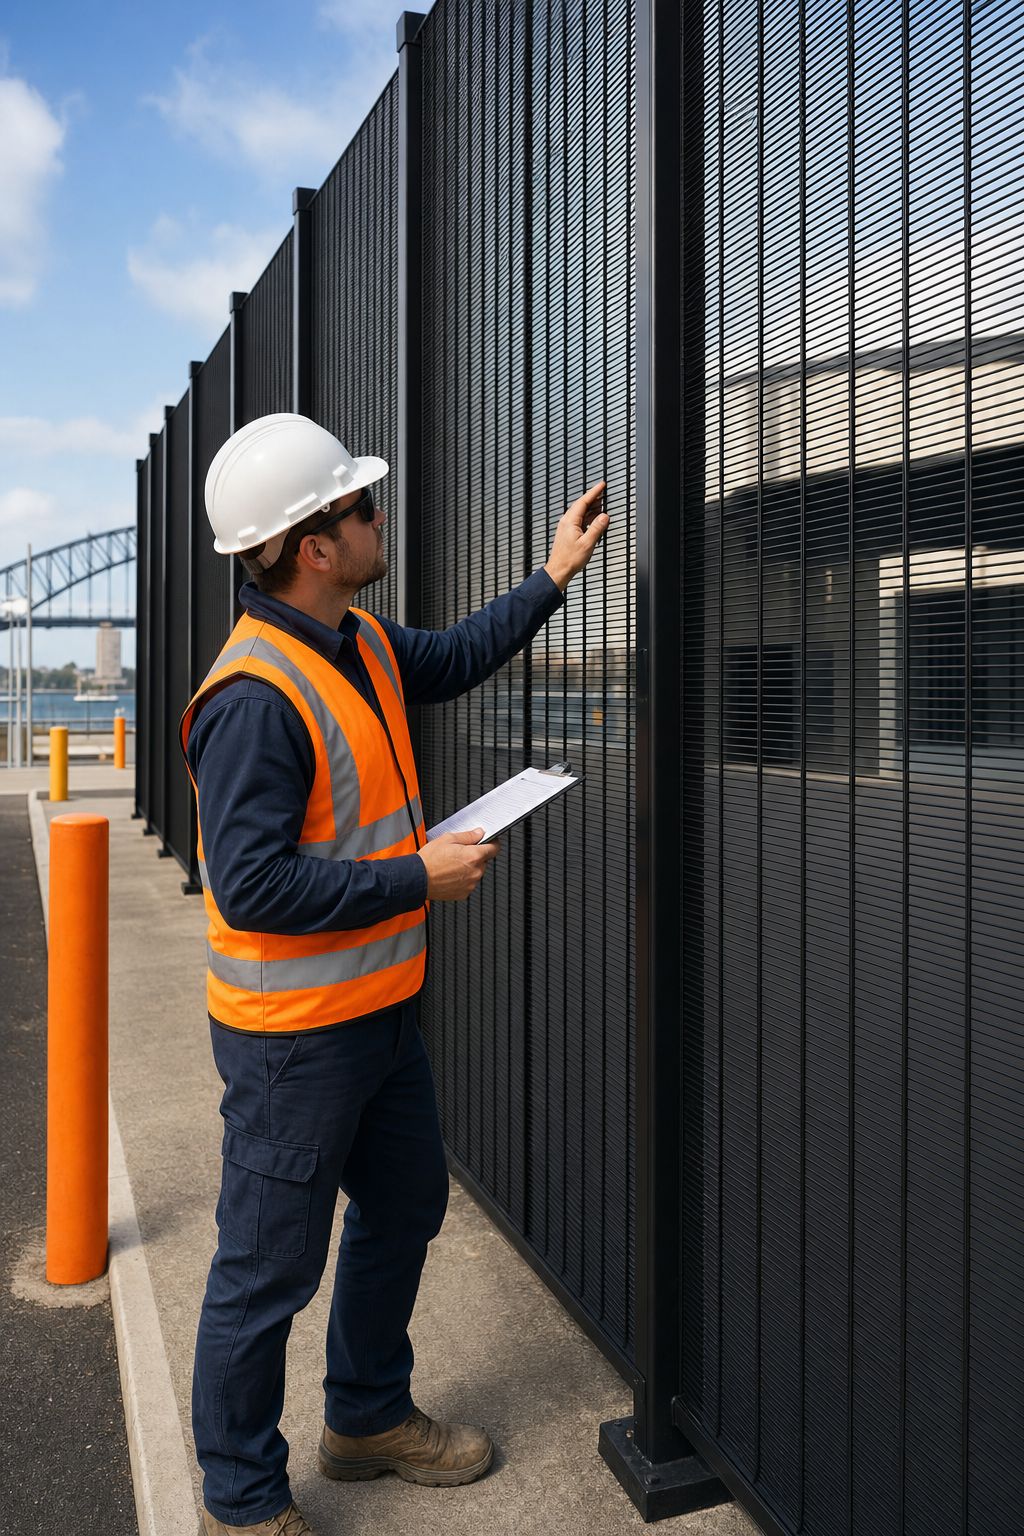
Start at one corner of the perimeter and walk the full fence line before touching anything. Your goal at this stage is a general condition read, not detailed measurements. Look for visible deformation, panel displacement, or sections that seem to lean out of alignment.
Check every post. Loose or leaning posts are one of the most common structural failures on commercial sites. Push each post laterally with moderate force. There should be no movement. If a post rocks, the footing has likely degraded or the post itself has rotted internally. A post showing internal rot needs full replacement, not just tightening.
Inspect the fence fabric or panels for:
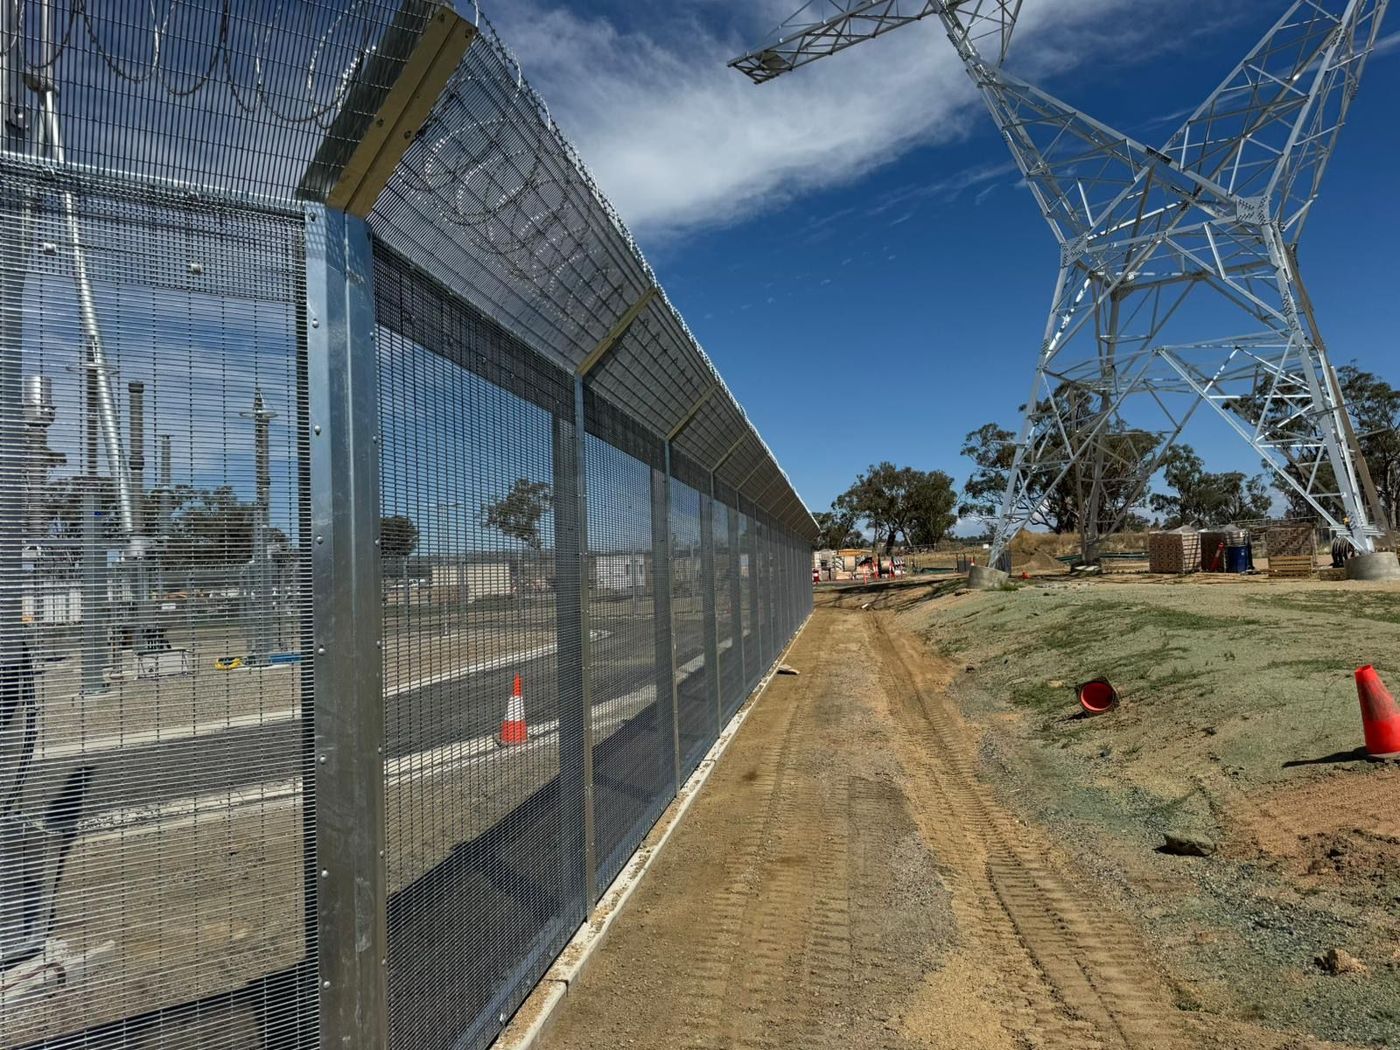
- Rust or corrosion, particularly at welded joints and cut edges on 358 anti-climb mesh
- Loose or missing bolts along top and bottom rails
- Bent or buckled sections that suggest an impact event or attempted intrusion
- Damaged galvanising where the protective zinc layer has been breached
For metal fences, use a fine wire brush to remove surface rust and note any areas where corrosion has penetrated the steel. Minor surface rust is manageable. Through-rust on structural members or mesh panels means the section needs replacement. Check that all welds on panel frames are unbroken and corrosion-free, paying particular attention to rail-to-post connections under load.
Corner posts and H-braces deserve extra scrutiny. These points carry the greatest tension in the fence line, and any movement here will propagate as wire sag or mesh distortion across a much longer run. Check brace wires and diagonal supports, and tighten anything that has shifted since the last inspection.
Inspections should happen at least twice a year, and always after severe weather events. A post-storm walk takes priority over a scheduled quarterly visit if high winds or flooding has occurred on or near the site.
Step 2: Check Clearances, Gaps, and Anti-Climb Compliance

Once the structural walk is done, switch to measurements. Clearances and gaps are where most compliance failures occur on high-security sites, and they are almost always visible without specialised equipment. A tape measure and a rigid gauge are all you need.
Check the gap between the base of the fence and the ground along the full line. For security fences on commercial and government sites, this gap should not allow passage of a standard 100 mm diameter object. Any opening above that threshold is a pedestrian intrusion risk and a compliance concern.
Next, focus on the non-climbable zone. On boundary fences 1.8 m or taller, NSW legislation requires that no horizontal surface or climbable object sits within the non-climbable arc measured from the top of the fence inward. For most 1.8 m boundary fences, that arc is 900 mm. Any horizontal rail, ledge, or protruding fitting within that zone gives a would-be intruder a foothold and creates a direct non-compliance finding.
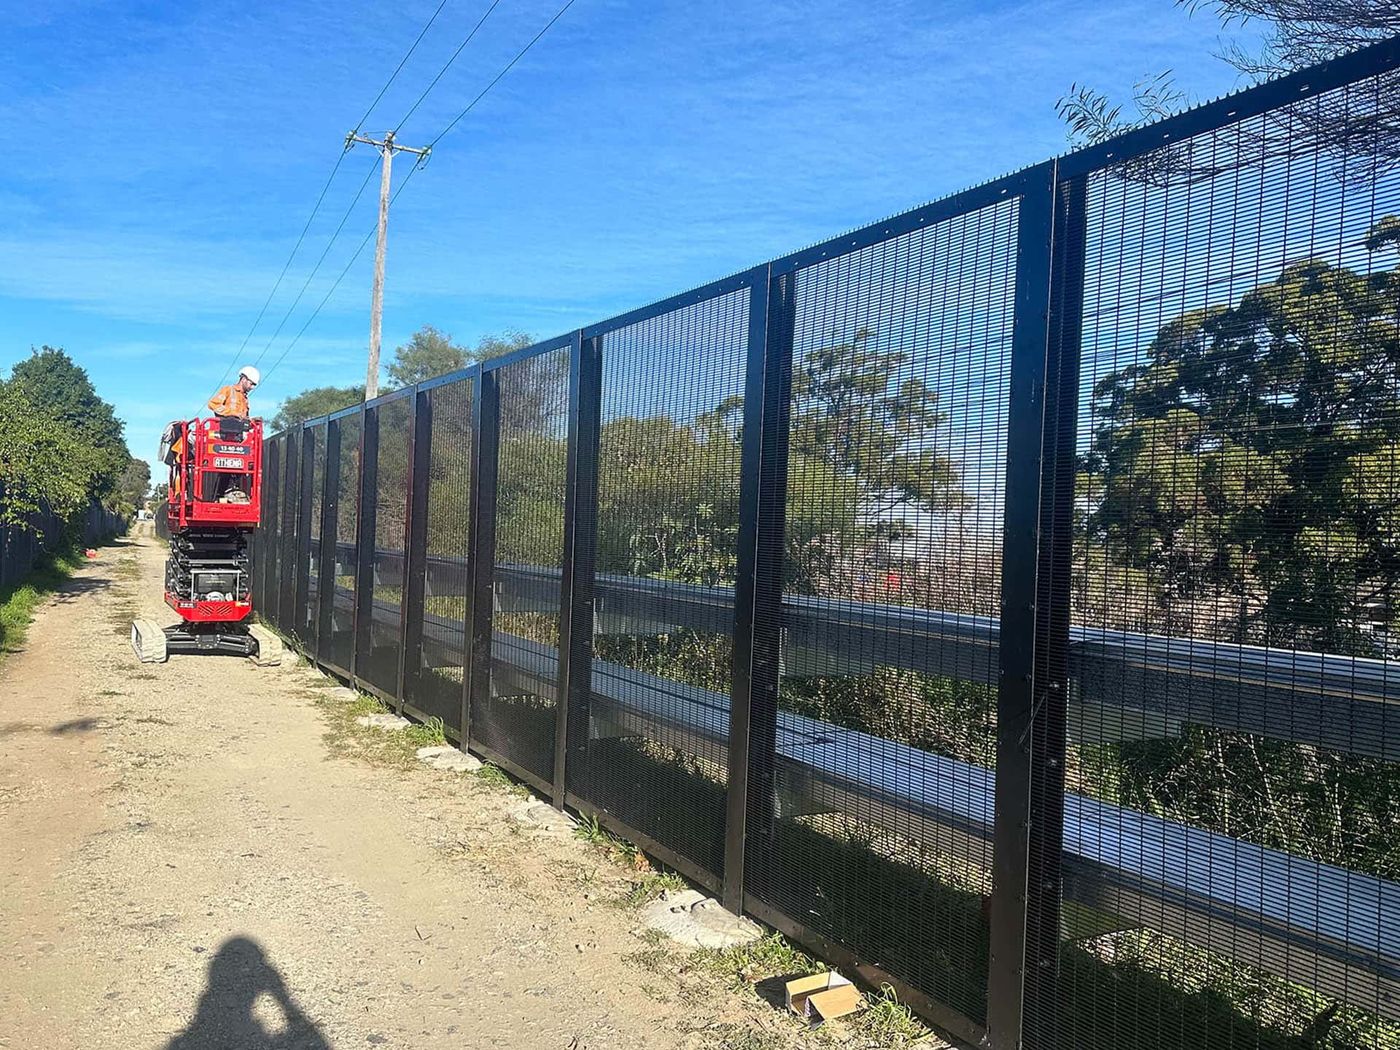
For 358 mesh specifically, the tight aperture (76.2 mm × 12.7 mm) is designed to defeat finger and toe holds. But check that the mesh has not been deformed or forced at any point. A panel that has been pushed outward even slightly can create a gap at the rail interface large enough to grip.
Check spacing between vertical members on palisade or tubular fences. Spacing greater than 100 mm between verticals allows a child-sized limb through and weakens the intrusion deterrent. Horizontal rail spacing on these fence types also matters. Rails spaced less than 900 mm apart on the interior face of the fence create climb assistance and need to be addressed.
Walk the fence boundary and note anything adjacent to the fence on the outside that could assist climbing. Equipment, stored materials, and vehicles parked close to the fence line all reduce the effective height of your perimeter. These items should be flagged for removal even if the fence itself is compliant.
Step 3: Inspect Gate Operation, Latches, and Access Control Systems
Gates are where most critical failures happen. On commercial sites, a gate latch that fails to engage fully carries the same risk as a missing fence section. Test every gate on the property, not just the primary entry point.
Open each gate to its full travel range and release it. The gate must self-close and self-latch from any position in its range without manual assistance. If the gate catches on ground debris, grass, or an uneven surface on the swing path, that is a failure. Clear the obstruction and retest. If the gate still does not close cleanly, the hinge alignment or ground clearance needs adjustment.
Check that the latch engages under its own weight and does not require a lift or push to seat. On security-rated gates, the latch should not be operable by reaching through or under the gate. Test this by attempting to reach the latch mechanism from the non-access side. If it is reachable, it needs a latch guard or relocation.
For automated gates, test the full open-close cycle and verify that the motor actuator responds correctly to both the entry credential and the failsafe. Check that the gate does not reverse or stall mid-cycle. Inspect hinges for rust and stiffness. Rusty or dry hinges accelerate wear on both the hinge plate and the gate frame. Apply a rust-inhibiting lubricant to all hinges and moving hardware at least annually.
For sites with electronic access control, confirm that the reader, keypad, or intercom is mounted at the correct height and that the cabling at the post entry point has not been damaged or exposed. Exposed low-voltage cabling at gate posts is a common vandalism target and a safety concern.
Step 4: Verify Compliance with NSW and Australian Security Fence Standards
This is the step that nearly every publicly available checklist skips entirely. Across a review of 41 fence inspection checklist items collected from Sydney sources in July 2026, zero entries cited a specific compliance standard. For government and high-security contracts, that omission is not just a documentation gap. It is a liability.
The primary standards governing security fencing in Australia cover perimeter security on commercial and government sites. The relevant instruments include the applicable Australian Standards for chain-link and temporary security fencing, and the broader AS/NZS 1170 series for structural loading. For any site with a pool barrier forming part of the security perimeter, AS 1926.1 applies to the barrier elements.
During the compliance check, verify:
- Fence height meets the minimum specified in the site’s security plan and any relevant council DA condition
- Materials and coatings meet the specified standard for the site’s security classification
- Gate hardware and locking mechanisms meet the rating required by the security specification
- Any anti-climb topping (razor wire, rotating spikes, or electrified wire) is installed within the envelope permitted by the development approval and local government regulations
- Warning signage is present and legible where required by the security plan or council conditions
For RMS-adjacent sites and transport infrastructure projects, there are additional requirements that govern fence height, reflectivity, and proximity to the road corridor. LS Fencing has delivered compliant perimeter security on major infrastructure projects across NSW where multi-standard compliance was mandatory from day one.
If the site does not have a current security specification document on file, this inspection is the prompt to produce one. A site without a written compliance baseline cannot demonstrate regulatory adherence on audit. Record the applicable standards for each fence type on site and reference them in every subsequent inspection report.
Step 5: Inspect Vegetation, Site Hazards, Signage, and Emergency Access
Vegetation is consistently underestimated as a fence integrity risk. Overgrowth along the fence line traps moisture against posts and panels, accelerating corrosion from the ground up. Dense foliage also provides concealment for intrusion attempts and can physically push mesh panels out of alignment over time. Clear at least two feet (approximately 600 mm) on either side of the fence line. For security-critical perimeters, a wider clearance zone is preferable.
Trees with overhanging branches adjacent to the fence need specific attention. A branch close enough to the fence top reduces the effective height of the anti-climb deterrent. Branch fall during storms can also damage or flatten fence sections entirely. If overhanging branches are present, flag them for arborist removal and note the tree’s proximity to the fence in the inspection record.
After clearing vegetation from your line of sight, check for site hazards that affect fence function. These include:
- Stored equipment, pallets, or materials positioned against the fence interior
- Ground subsidence or erosion at post footings, particularly on sloped sites
- Drainage blockages that cause water pooling at the fence base
- Vehicle damage to fence panels near entry gates or loading dock areas
Check all required security signage. Warning signs must be legible, correctly positioned, and not obscured by vegetation or other site furniture. On sites with electric fence toppers, signage is a legal requirement, not optional. If signs are faded or missing, arrange replacements before closing the inspection.
Finally, walk the emergency access route and verify it is clear and operable. Emergency services must be able to reach the site perimeter quickly, which means access gates on the emergency route need to open without specialist credentials or the same automation system that covers the main entry. Test the emergency release mechanism on any motorised gate on that route and confirm it functions as intended.
For facilities managers who want to structure their site safety reviews and team coordination around these inspections, clear procedural frameworks help. Leadership approaches that improve team accountability during compliance-driven site walks are well-documented in management coaching and organisational safety literature.
Step 6: Document Findings and Schedule Follow-Up Maintenance
An inspection without a written record is worth very little. On government and commercial contracts, documented inspection history is often a condition of the security plan, and it becomes essential if an incident occurs and liability is in question.
Photograph every defect found during the walk, with GPS coordinates or a clear location reference in the file name. Note the date, weather conditions, and the name of the inspector. For sites with multiple fence types (say, 358 mesh on the main perimeter and palisade on the vehicle entry), document each type separately so the maintenance schedule can be applied correctly.
Use the table below to log findings and assign priority actions:
Schedule the next inspection before closing the current report. Most commercial sites benefit from a minimum of two formal inspections per year, with an additional walk-through after any severe weather event or security incident. For sites with high-security classification, a quarterly schedule is more appropriate.
LS Fencing provides safety audits and inspections for existing fencing systems across Sydney and NSW, identifying vulnerabilities and recommending corrective action. If an inspection uncovers defects beyond what your in-house team can address, the LS Fencing security fence installation guide outlines the repair and replacement process for common commercial fence types in detail.
For sites moving away from paper-based records, a mobile inspection app lets the inspector capture photos, add geo-tagged notes, and export a PDF report in the field. That report can attach directly to a compliance audit file or a contractor handover package without manual re-entry.
Frequently Asked Questions
How often should a commercial security fence be inspected in Sydney?
Commercial security fences in Sydney should be inspected at minimum twice a year, with an additional check after any severe weather event. High-security and government sites typically require quarterly inspections to meet contract and insurance requirements. The twice-yearly schedule covers most commercial properties, but the inspection frequency should be documented in the site’s written security plan so it can be demonstrated on audit.
What are the most dangerous defects to look for on a security fence?
Gate latch failures and missing fence sections are the highest-risk defects because they allow direct access to the site without leaving any visible sign of forced entry. Other serious defects include post footing failures, ground gaps large enough for unauthorised access, and climbable objects within the non-climbable zone. These faults need to be addressed within 48 hours of being found, not deferred to the next maintenance cycle.
Which Australian standards apply to security fencing on commercial sites in NSW?
The main standards relevant to commercial security fencing include those covering chain-link security fencing and temporary fencing. For barrier elements near pool areas, AS 1926.1 applies. Transport and infrastructure projects near the RMS road corridor face additional requirements. Every inspection report for a government or high-security site should reference the applicable standard for each fence type on site to demonstrate compliance.
Do security fence inspections need to be carried out by a licensed contractor?
In NSW, routine visual inspections can be carried out by a trained facilities manager or site supervisor. However, any rectification work on a structural element, automated gate, or access control system should be done by a licensed contractor. For formal compliance audits tied to a government contract or development approval, an independent inspection by a qualified fencing contractor provides the most defensible documentation.
What should a security fence inspection report include?
A complete report includes the inspection date and weather conditions, the name of the inspector, the fence types and total perimeter length covered, photographic evidence of every defect with location references, a priority rating for each finding, recommended corrective actions, and the date of the next scheduled inspection. Reports should be stored on file and available for review by the site owner, the principal contractor, or a council inspector on request.
Conclusion
A thorough perimeter inspection covers structural condition, clearances, gate operation, compliance with the relevant Australian standards, vegetation, and documented follow-up, in that order. The compliance step is the one most sites miss, and on government or high-security contracts, it is the one that matters most. If your last inspection report does not reference a specific Australian standard, that is the place to start. LS Fencing offers site audits and corrective works for commercial properties across Sydney and NSW. Contact the team to arrange a professional inspection of your existing perimeter security.
Specifying or pricing a perimeter?
Send the drawings or a brief and LS Fencing Services will come back with a detailed proposal.